Unlocking the amlogic control board to be able to downgrade the stock firmware date and installing the “VNISH” firmware
- AML control board and a 12V power supply
- A computer or laptop with Windows installed
- Any USB-to-UART adapter with drivers installed (in our case, Silicon Labs CP2102)
- A terminal program (in our case, PuTTY) to connect to the control board and send commands
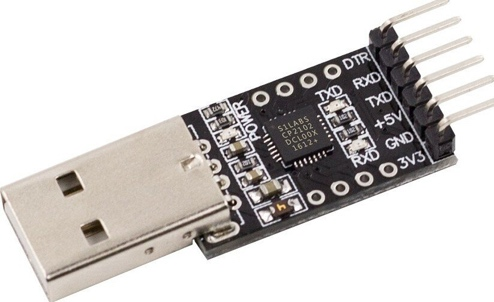

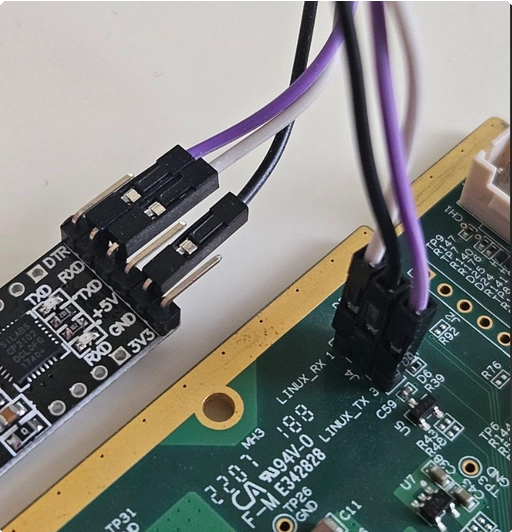
Identify the UART pins on the control board. Connect the USB-to-UART adapter to the control board according to the following wiring scheme: GND → GND, RXD → LINUX_TX, TXD → LINUX_RX
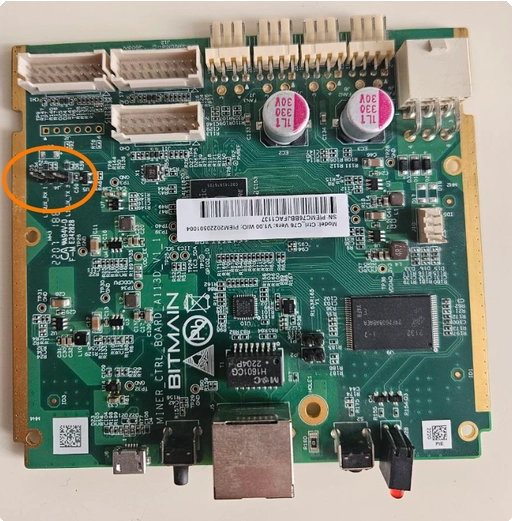
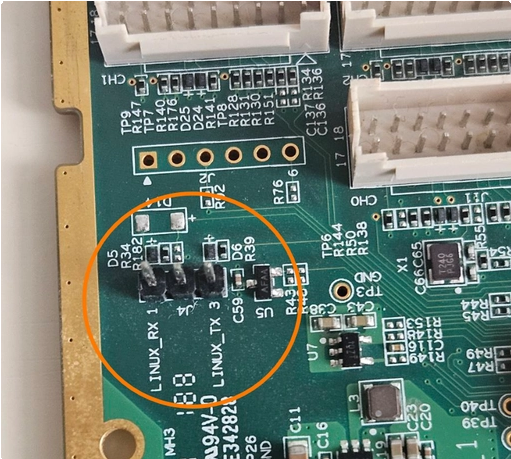
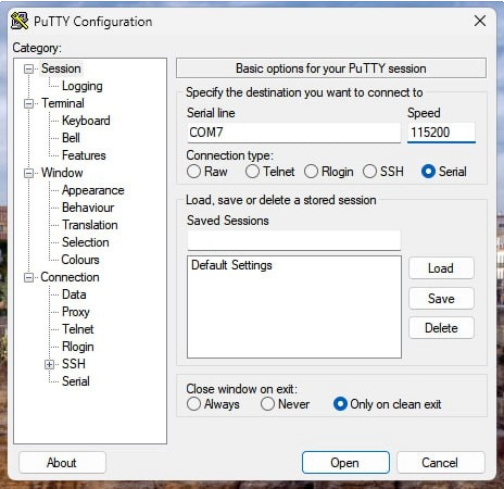
Open the PuTTY terminal window:
Set the correct COM port number and configure the baud rate to 115200. Leave all other parameters at their default setting
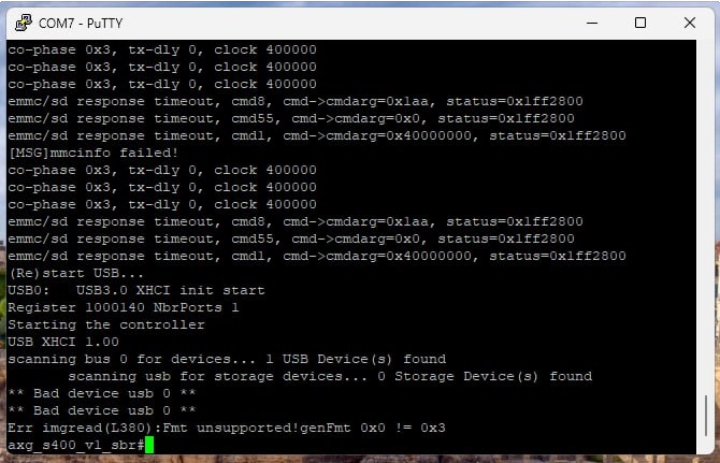
At this stage, you can verify that the connections are correct.
When power is applied to the control board, the device boot log should appear in the terminal window.
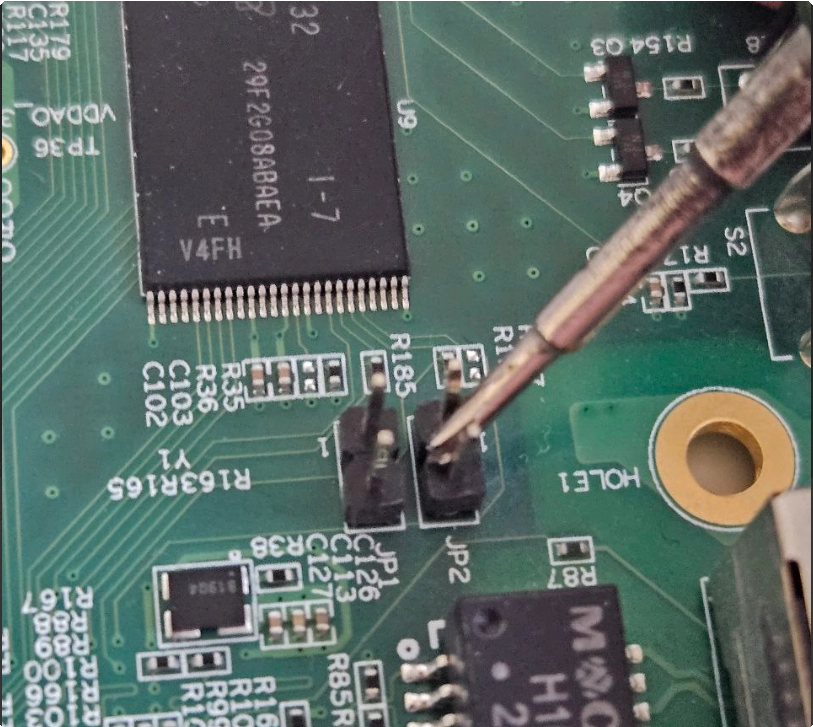
Power off the control board and short the JP2 jumper using tweezers or a screwdriver.
Make sure the terminal window is active
Apply power to the control board. As soon as the first boot line appears in the terminal, quickly release the JP2 jumper and press the space bar a few times in the active terminal window.
After these steps, the ENV loading process should start.
If this does not happen, which is acceptable, perform the following:
- Power off the control board and power it on again. While doing so, briefly short the JP1 or JP2 jumpers a couple of times. This should force the board into U-Boot boot mode.
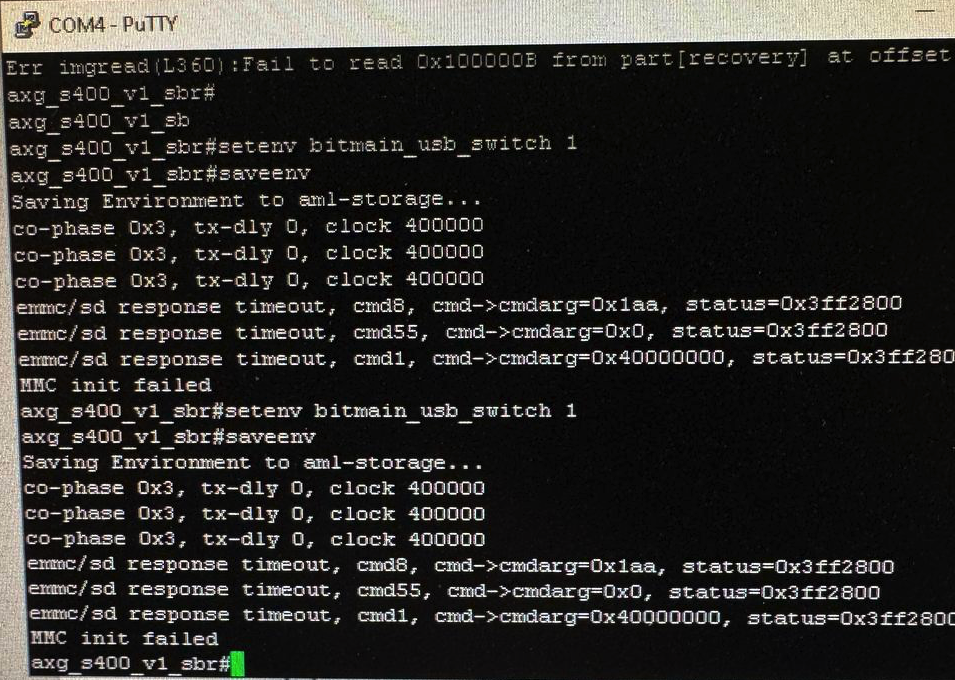
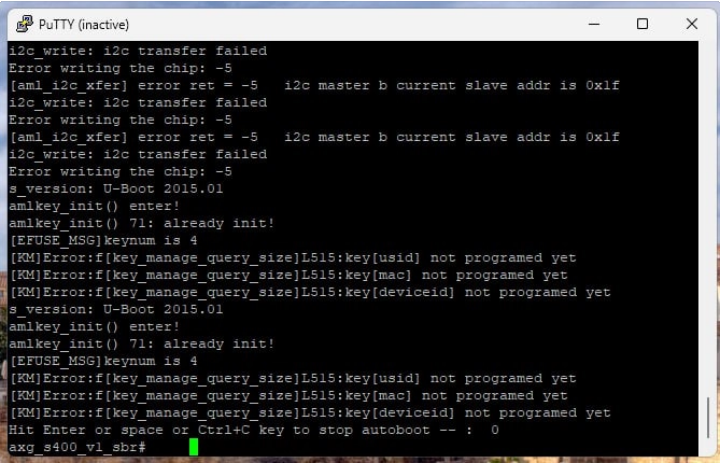
As a result, the following messages should appear in the terminal window
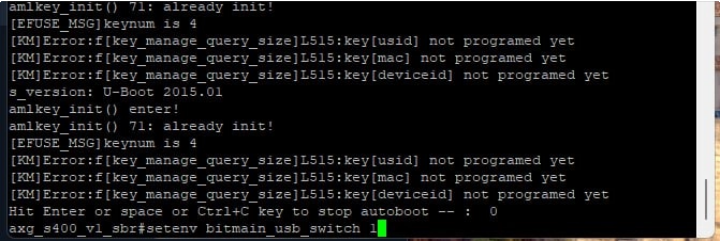
Enter the command: setenv bitmain_usb_switch 1 This command enables the USB port.
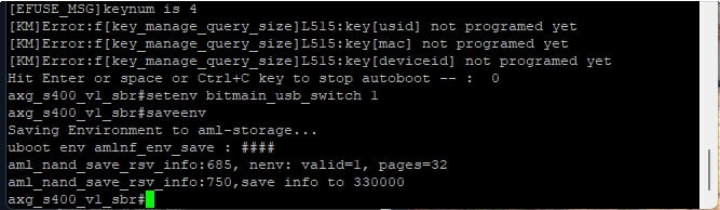
- saveenv
- setenv bitmain_usb_switch 1
- saveenv